
In this lesson, we will create a beautiful landscape with Hot Air balloons in the sky, and the balloons decorated in Zentangle style.
What is Zentangle?
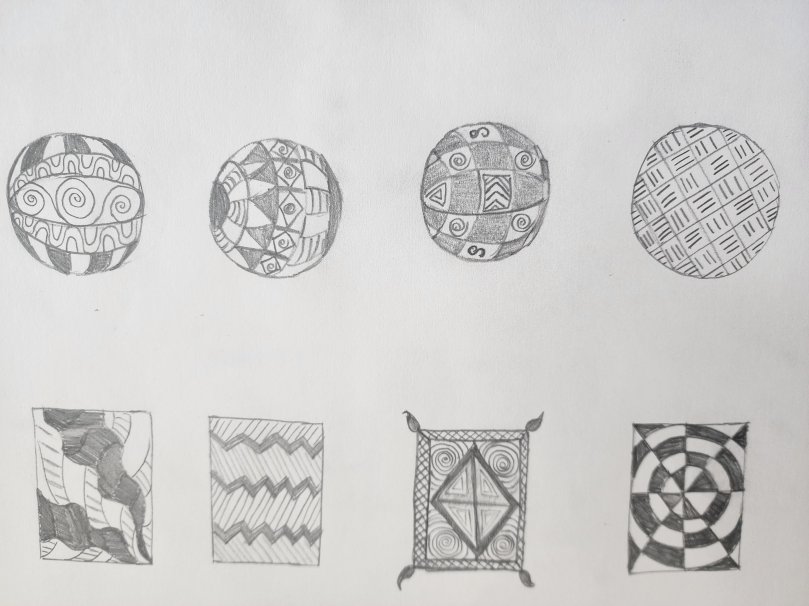
Zentangle is a form of art where we add lines and patterns in a conscious manner to create a beautiful pattern. It is a great way to increase your creativity, hand-eye concentration and practice your fine motor skills. Below you will find 8 simple Zentangle patterns I drew. You can try some ideas on your own too! If you look carefully there are different types of straight and curved lines, some basic C and S strokes, and some dots, dashes, and circles. Add them in different combinations and you have created your Zentangles!
Let’s Start our Hot Air Balloon Drawing Project
Things Needed:
- 9×12 or larger mixed-media or Watercolor paper.
- A well-sharpened pencil and eraser.
- A Black Thin Permanent Marker ( Sharpie)
- A basic watercolor set with brushes and Water to paint the background.
- Zentangling pattern ideas 🙂
Step-by-Step Process:
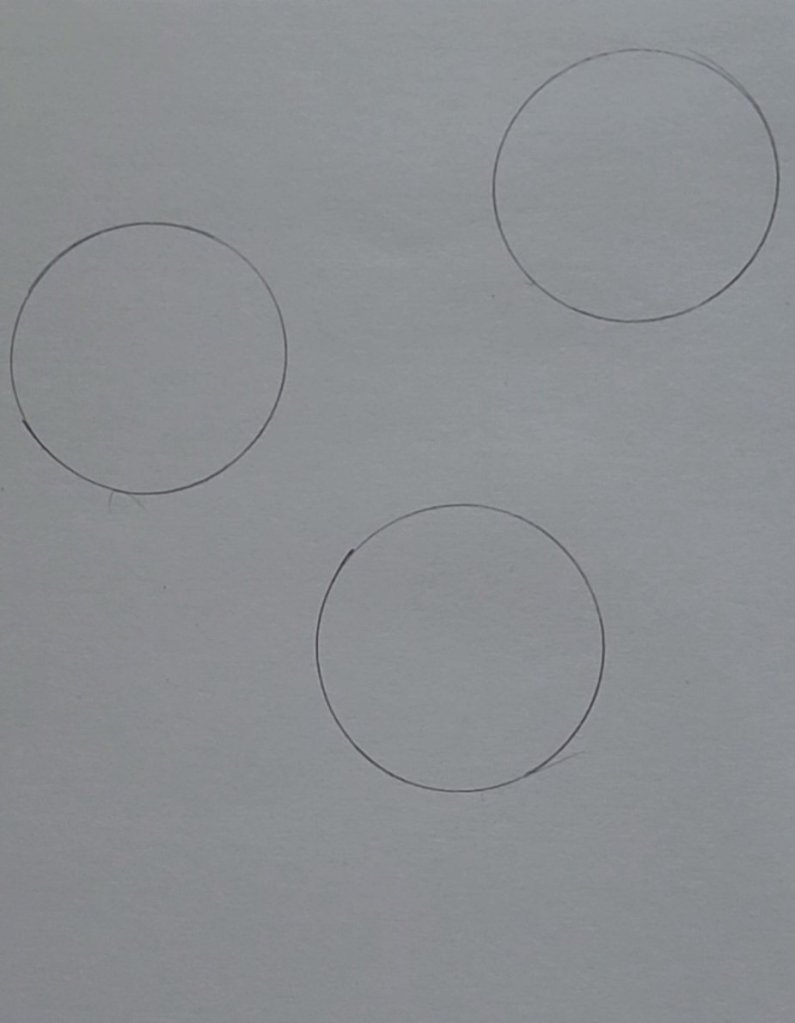
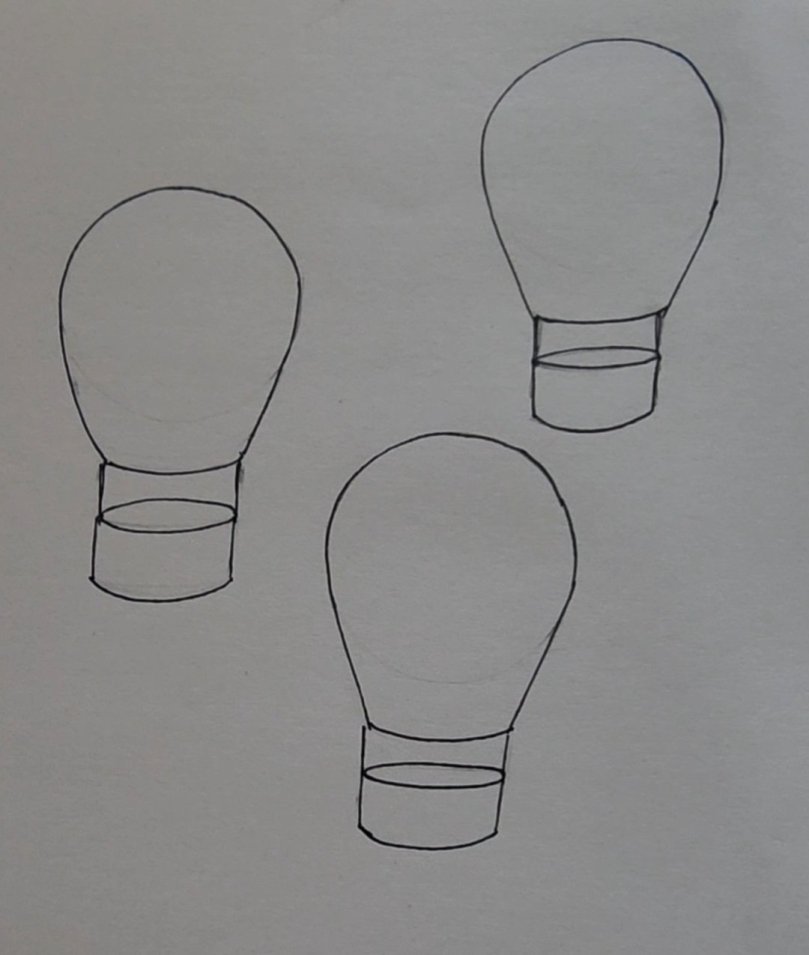
- Draw 3 circles on the top half of your drawing paper to make three balloons as shown below.
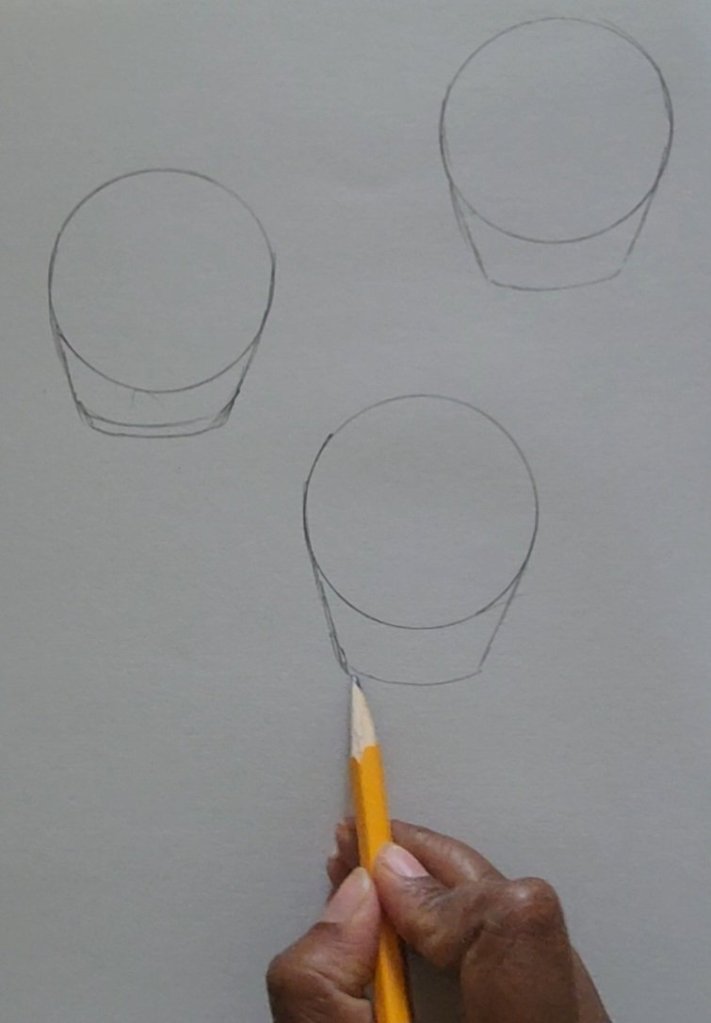
2. Now extend lines from the sides of the circle to make the shape of a hot air balloon as shown in the picture.
3. Next draw baskets for each of the balloons.
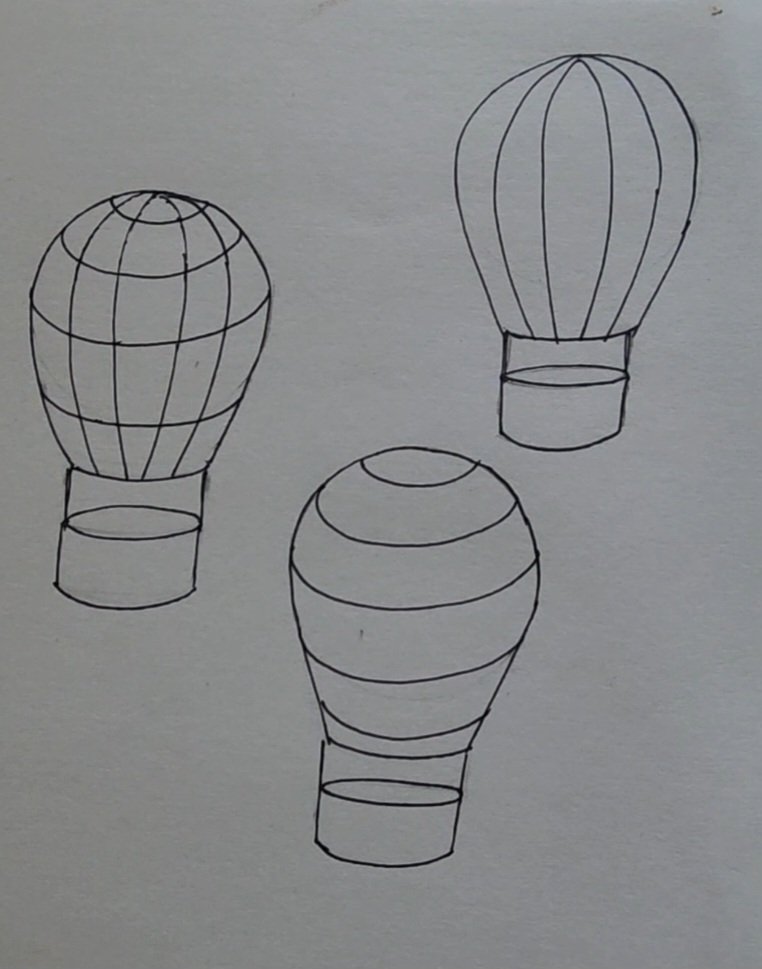
4. Next give a 3-dimensional form to the balloons by adding contour and cross-contour lines as shown below.
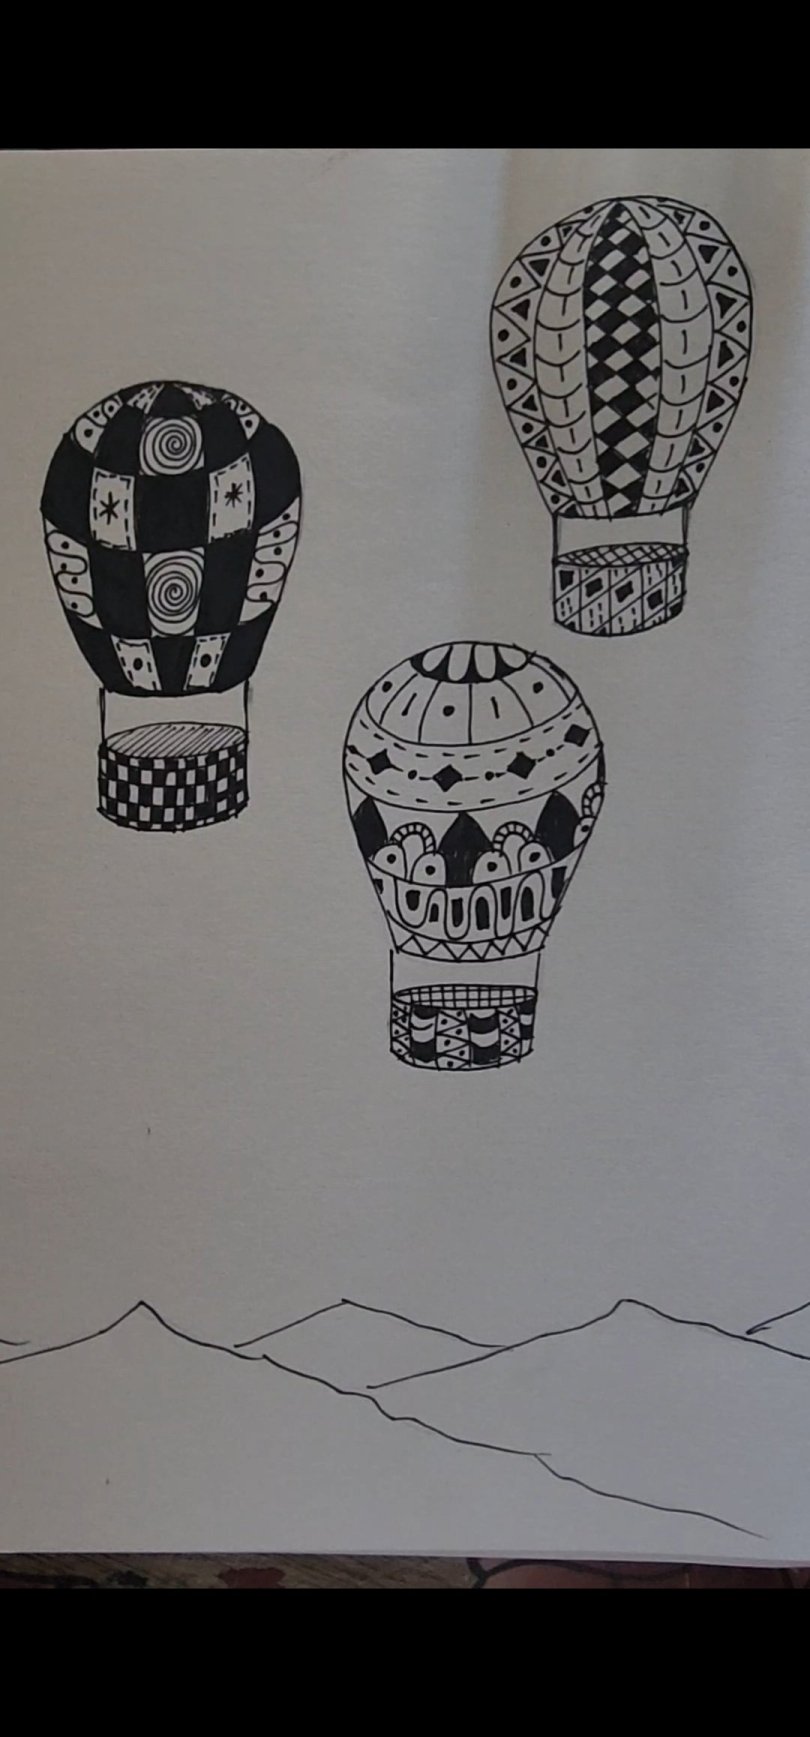
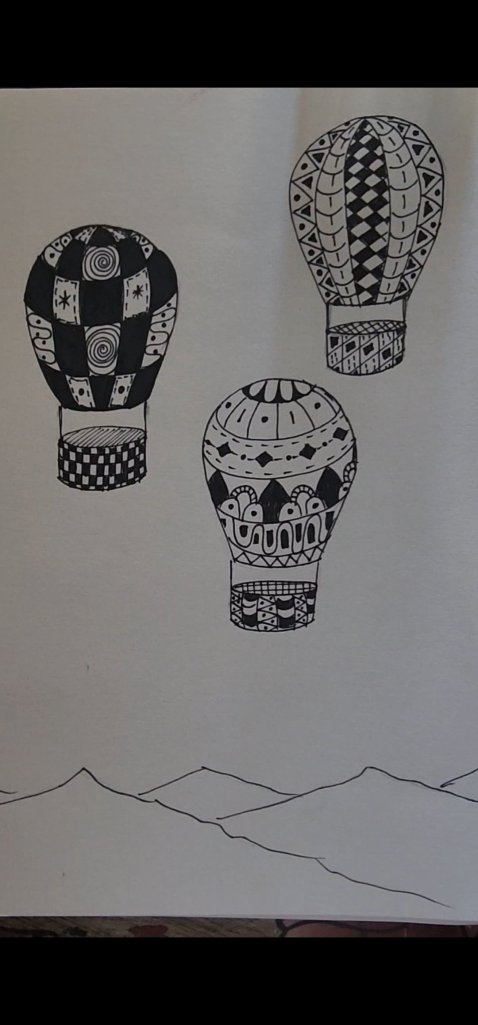
5. Now, it is time to let your creativity flow and add your zentangle patterns.
6. Finally, finish your landscape by coloring the background and negative spaces with watercolors or any medium of your choice.
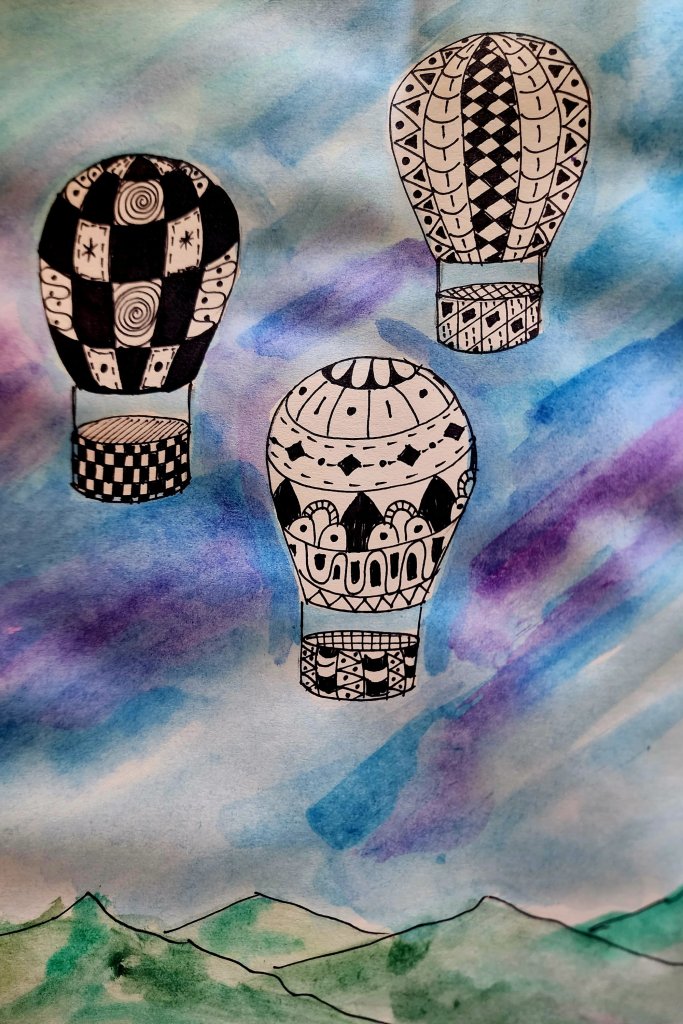
Your artwork is ready to display!!
If you are not much of a reader and would rather watch a video, follow along with this Youtube step-by-step video:
