Hot Air Balloons in the Sky, Zentangle style -Summer 2023 art 2

In this lesson, we will create a beautiful landscape with Hot Air balloons in the sky, and the balloons decorated in Zentangle style.

What is Zentangle?

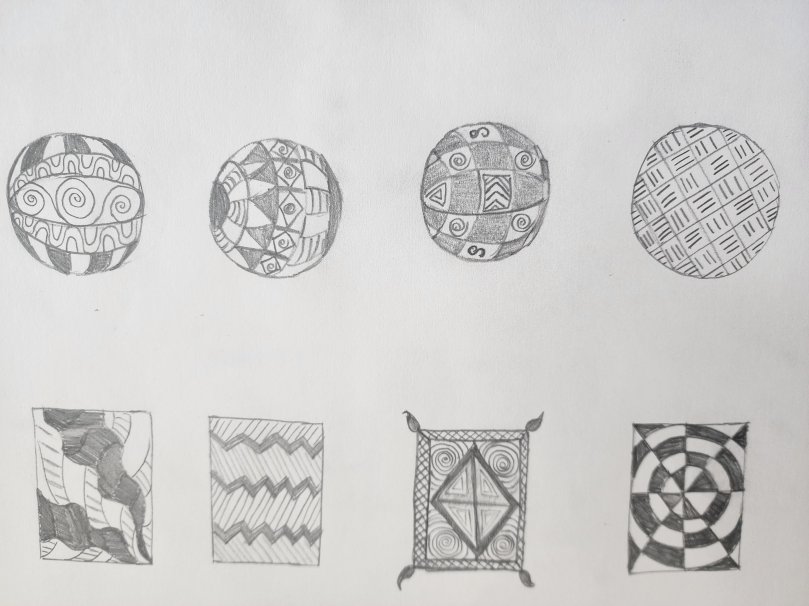
Zentangle is a form of art where we add lines and patterns in a conscious manner to create a beautiful pattern. It is a great way to increase your creativity, hand-eye concentration and practice your fine motor skills. Below you will find 8 simple Zentangle patterns I drew. You can try some ideas on your own too! If you look carefully there are different types of straight and curved lines, some basic C and S strokes, and some dots, dashes, and circles. Add them in different combinations and you have created your Zentangles!
Let’s Start our Hot Air Balloon Drawing Project

Things Needed:

  1. 9×12 or larger mixed-media or Watercolor paper.
  2. A well-sharpened pencil and eraser.
  3. A Black Thin Permanent Marker ( Sharpie)
  4. A basic watercolor set with brushes and Water to paint the background.
  5. Zentangling pattern ideas 🙂

Step-by-Step Process:

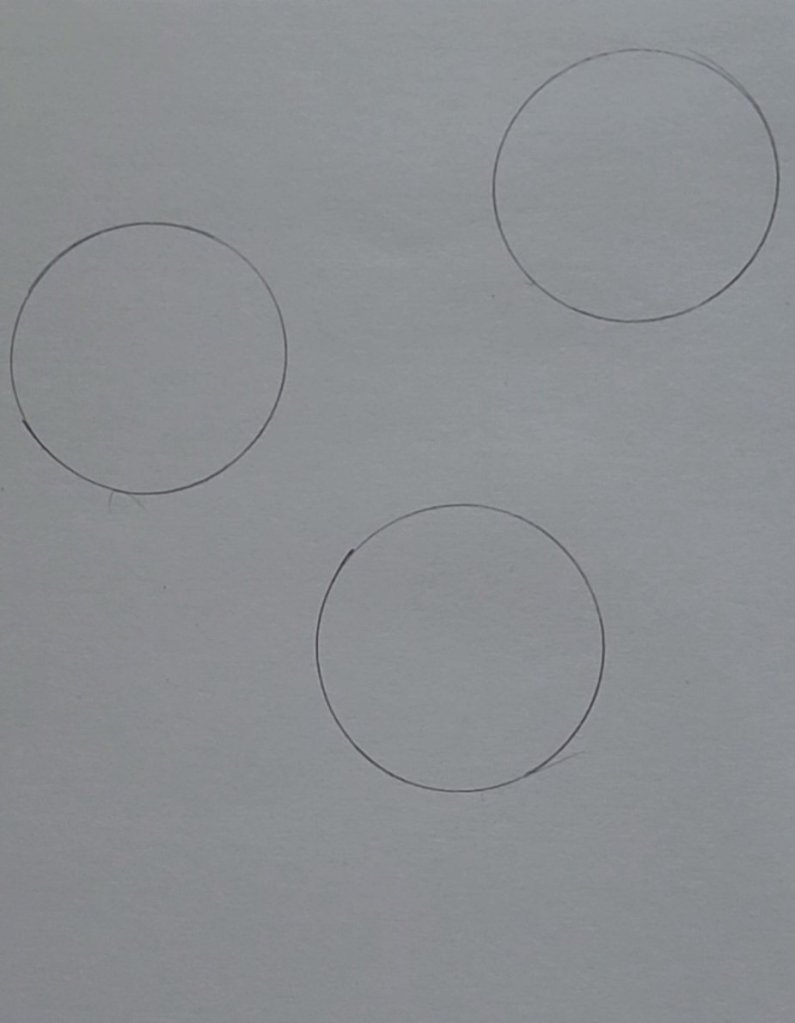
  1. Draw 3 circles on the top half of your drawing paper to make three balloons as shown below.
2. Now extend lines from the sides of the circle to make the shape of a hot air balloon as shown in the picture.
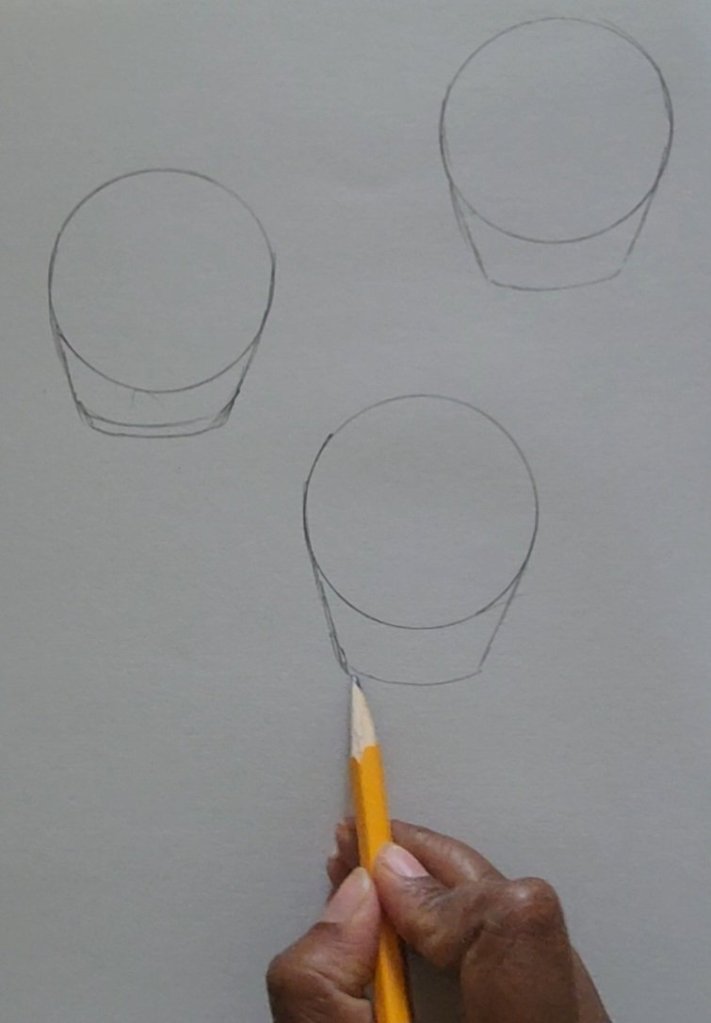
3. Next draw baskets for each of the balloons.
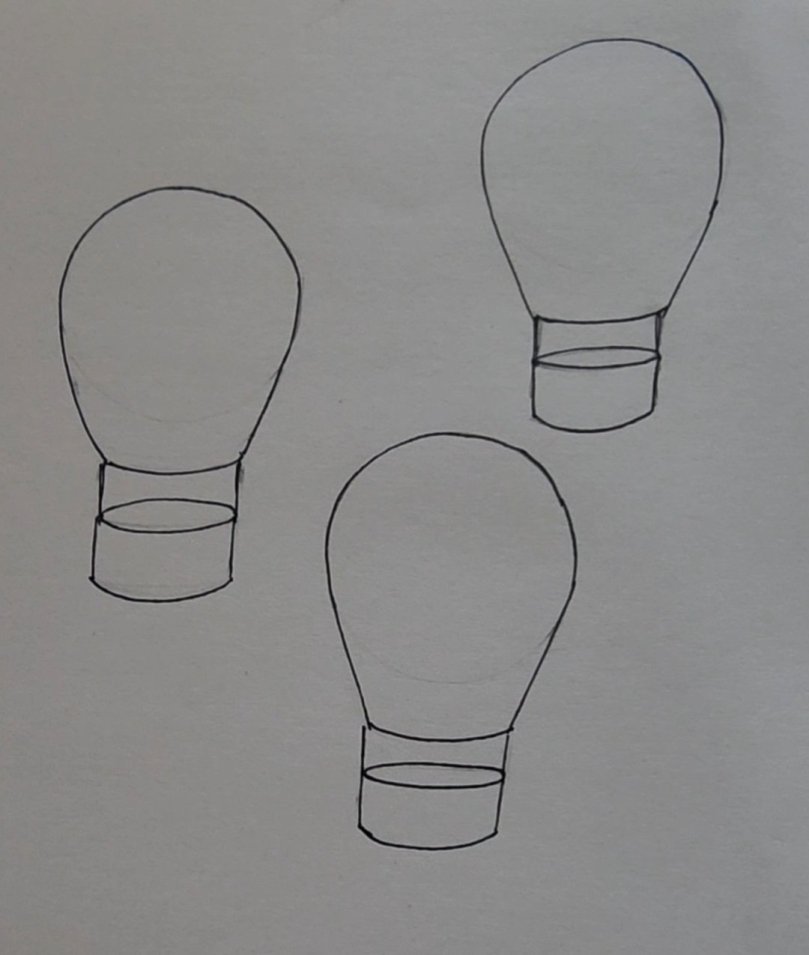
4. Next give a 3-dimensional form to the balloons by adding contour and cross-contour lines as shown below.
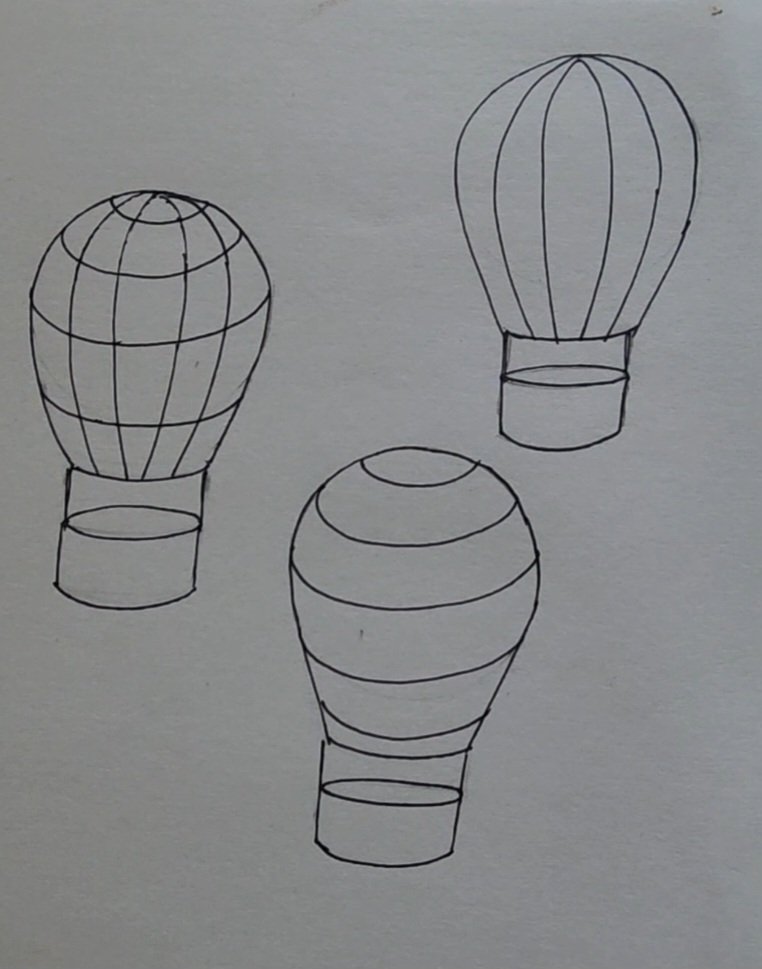
5. Now, it is time to let your creativity flow and add your zentangle patterns.
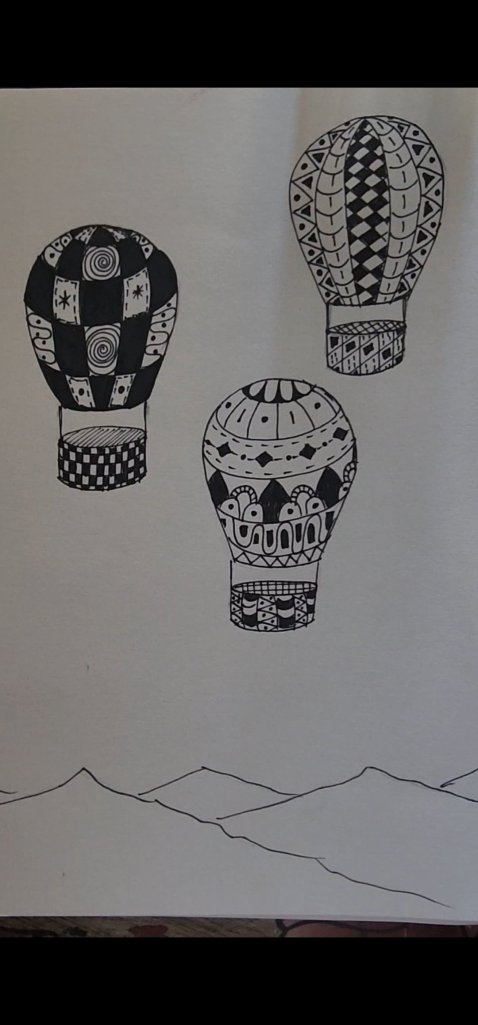
6. Finally, finish your landscape by coloring the background and negative spaces with watercolors or any medium of your choice.
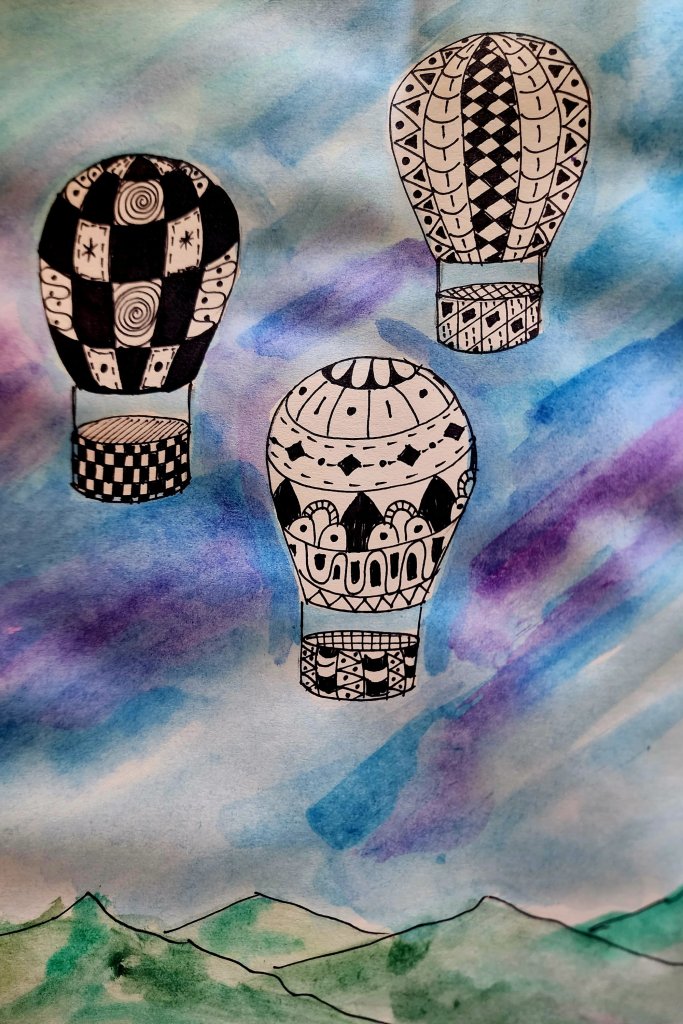
Your artwork is ready to display!!

If you are not much of a reader and would rather watch a video, follow along with this Youtube step-by-step video:

Kandinsky’s Concentric circles Inspired Abstract art

Abstract art is a great way to introduce kids to art and nothing better than Kandinsky’s Concentric Circles to explain and explore the Color theory. Kids can explore how different colors placed next to each other can create different moods and effects.

I would greatly suggest to create a Simple Color wheel with the kids for reference so that they can easily refer to it and see what happens and how it looks when complementary or analogous Colors are painted next to each other in the concentric circle.

This is a simple Color Wheel that I made with my 5 year old and we used it and experimented by making some circles having analogous Colors next to each other and others with Complementary Colors next to each other.

20200401_113240123706198734888753.jpg

Explain About Primary and Secondary Colors, Tertiary colors can be introduced too for the older kids. 

Primary Colors The colors RED,BLUE and YELLOW are called Primary colors because they cannot be achieved by mixing any other colors.

Secondary Colors The colors VIOLET(PURPLE), ORANGE and GREEN are secondary colors and they are achieved by mixing equal parts of two primary colors.

Tertiary colors The colors which are achieved by mixing a primary color with a secondary color.

Talk about Analogous And Complementary colors.Ask them to look at the Color wheel and make a list of Analogous colors and Complementary Colors.

Analogous-Colors next to each other on the color wheel for example: Red and Orange, Blue and Green

Complementary-Colors opposite to each other on the color wheel For Example: Yellow and Purple, Blue and Orange

Next Introduce them To the Famous Artist and his art on the Concentric circles inside individual Squares. 

 Wassily Kandinsky (1866-1944)

Kandinsky was a Painter and art theorist born in 1933 in Moscow, Russia. He was credited for his abstract works.His Squares with Concentric Circles, 1913 is a very famous artwork and is used a lot to learn about color theory.

 Then we tried to create our own version of his artwork  using our colored pencils. As you see we did 12 concentric circles, which is also a great way to try out what we learnt in our color theory lesson.

20200401_165032

Next we created a few more artwork inspired by the above artwork. We made a butterfly, a flower and butterfly and also a bird on a branch. You can also try out many other things like a tree with branches with the circles as leaves!!

Think about some more different ideas where you can apply this technique, try out all the different combination of colors you could use!!
Here’s an idea that you may use for inspiration!


20200428_2016503868329089833716429.jpg


Also you may follow the Link below to see an easy Abstract we did based on what we learnt:


Â