Let’s Go on a Safari/Animals Portraits at the Zoo :)

The first thing that comes to our mind when we say Safari is probably the African Safari!Going to the Zoo is something all kids love!But Safari is a total different experience, where you get to watch these beautiful animals in their natural habitat!

My little ones always tell me all the fun facts that they have learnt or read somewhere about ! To be honest, they know more about them than me! It always has me impressed that they can retain so much information from what they read or have watched on some videos! I guess you remember more if you are learning about them just for fun rather than for a taking a test!

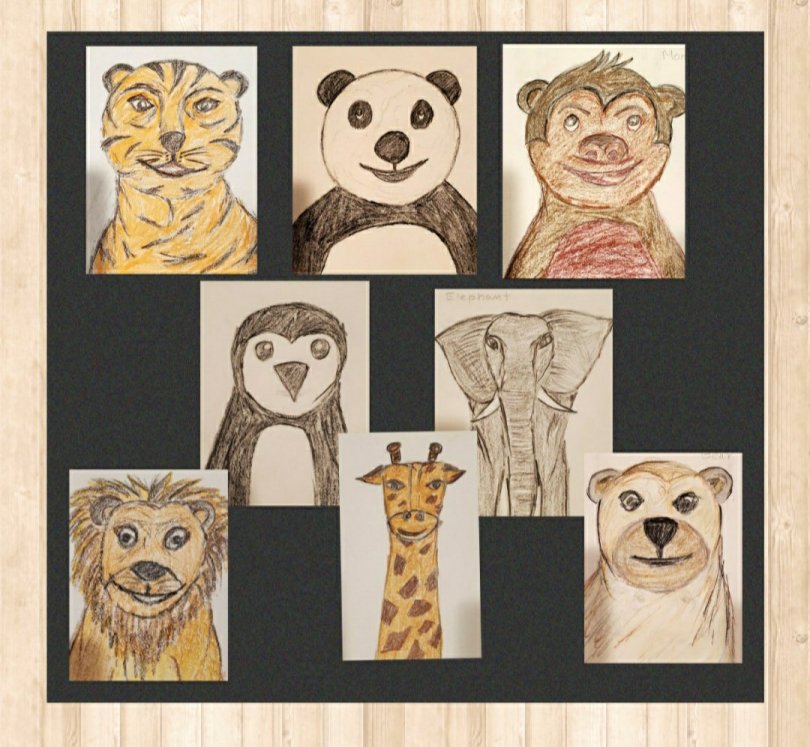
So this week we decided to learn to draw some Animals Portraits that we like to watch in a Zoo or on the Safari! We concentrated on drawing the portraits with Focus on their Facial Features. We can also do the same thing with favorite pets!

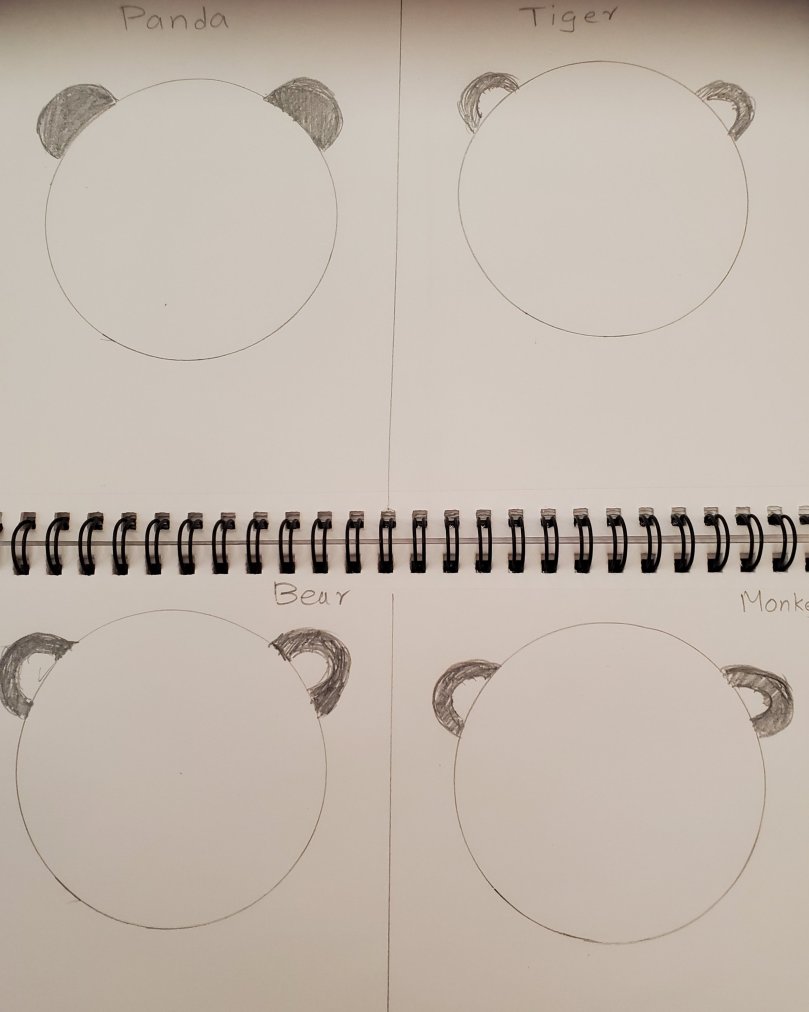
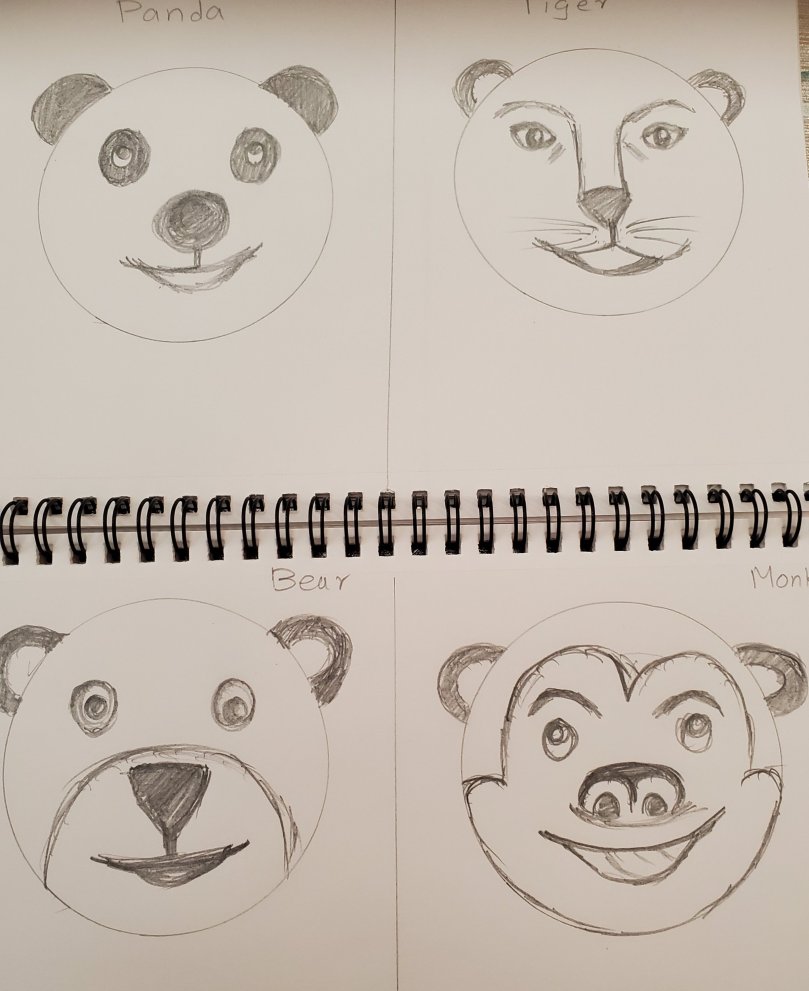
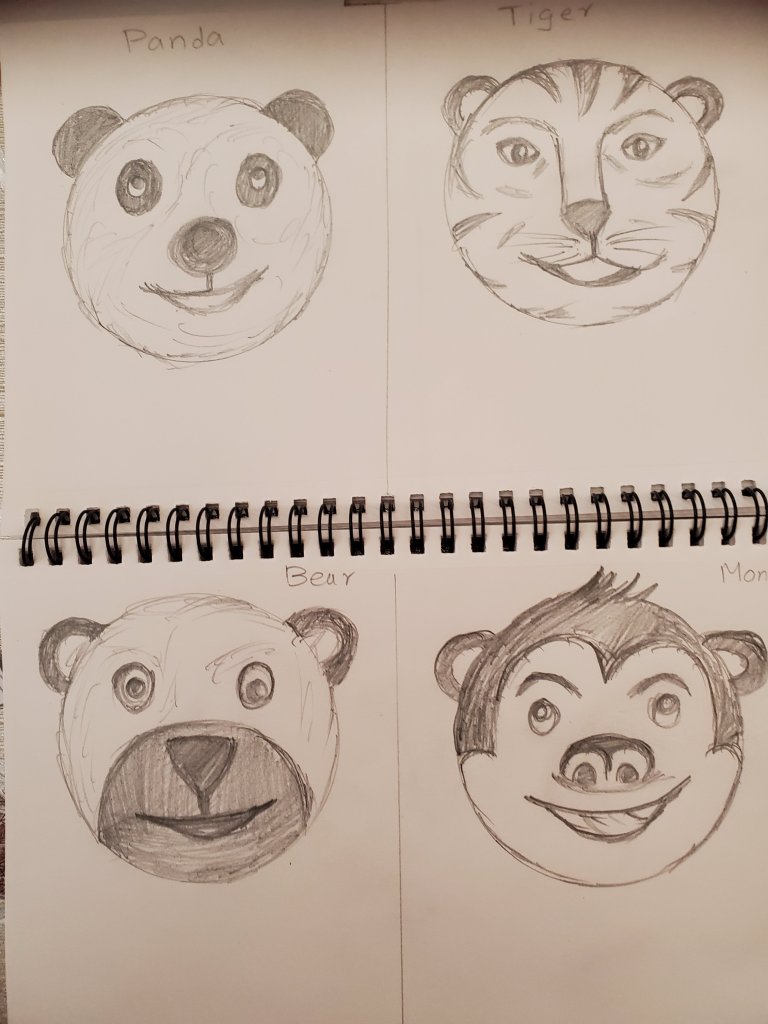
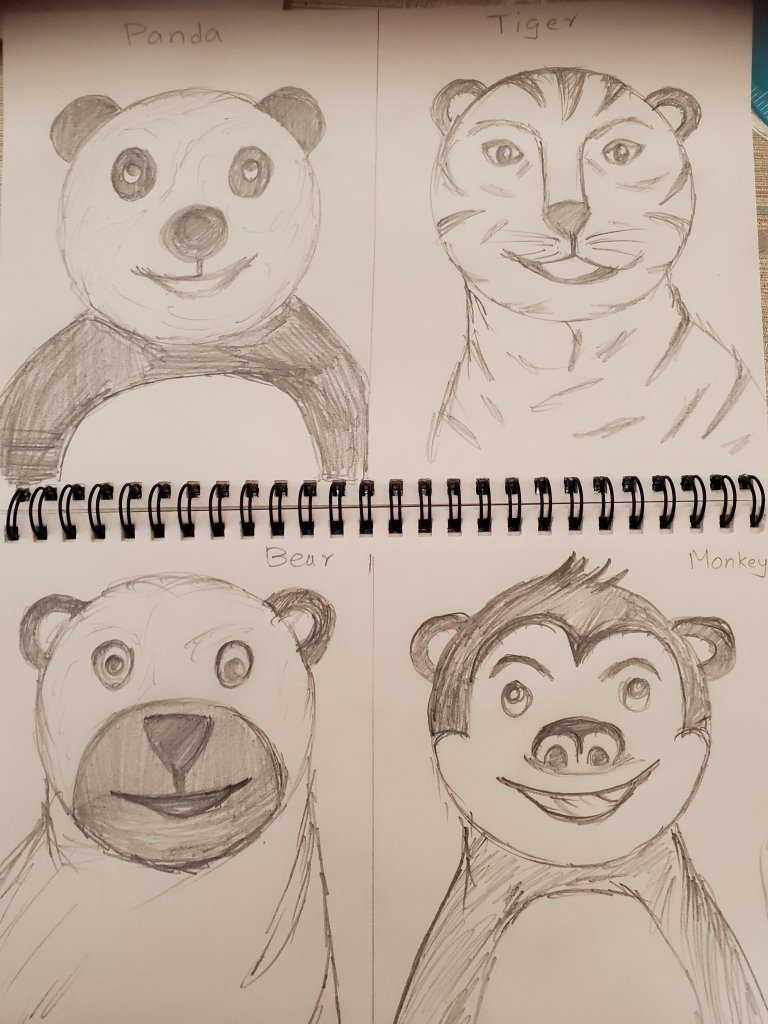
The first 4 animals that we are going to draw are a PANDA,TIGER, BEAR and a MONKEY! For these four animals, we will start with circle for the faces.

Follow the directions step-by-step to draw the animals!

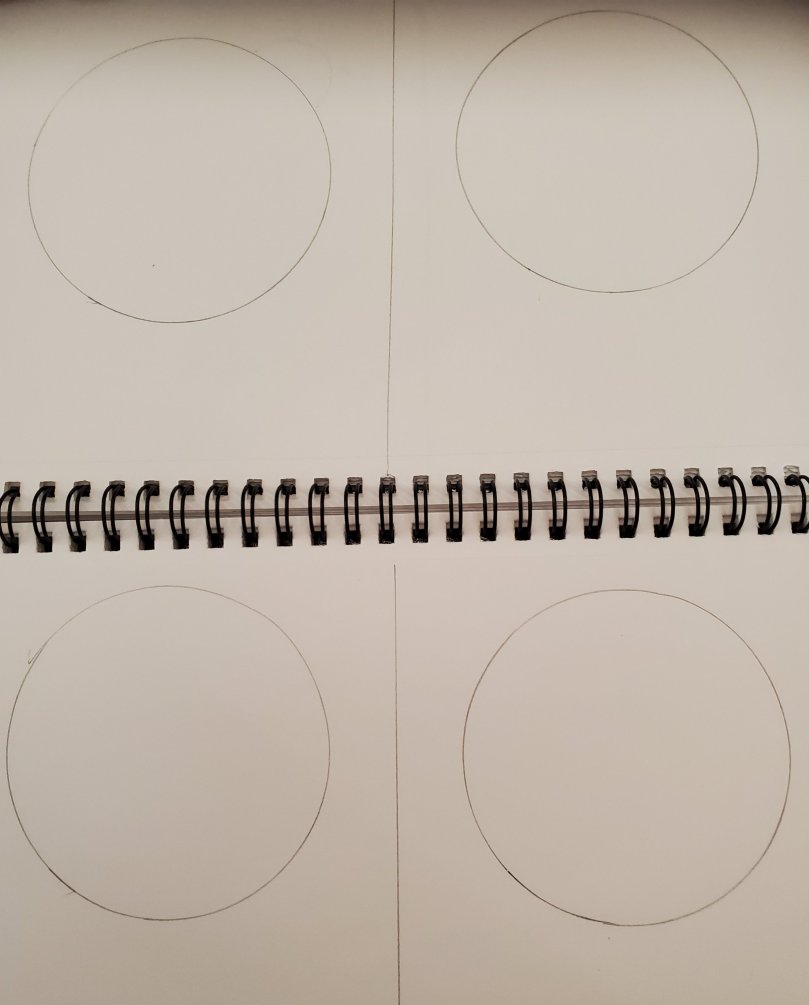
STEP1: Start with 4 Circles

STEP 2: Make your ears for all the four animals

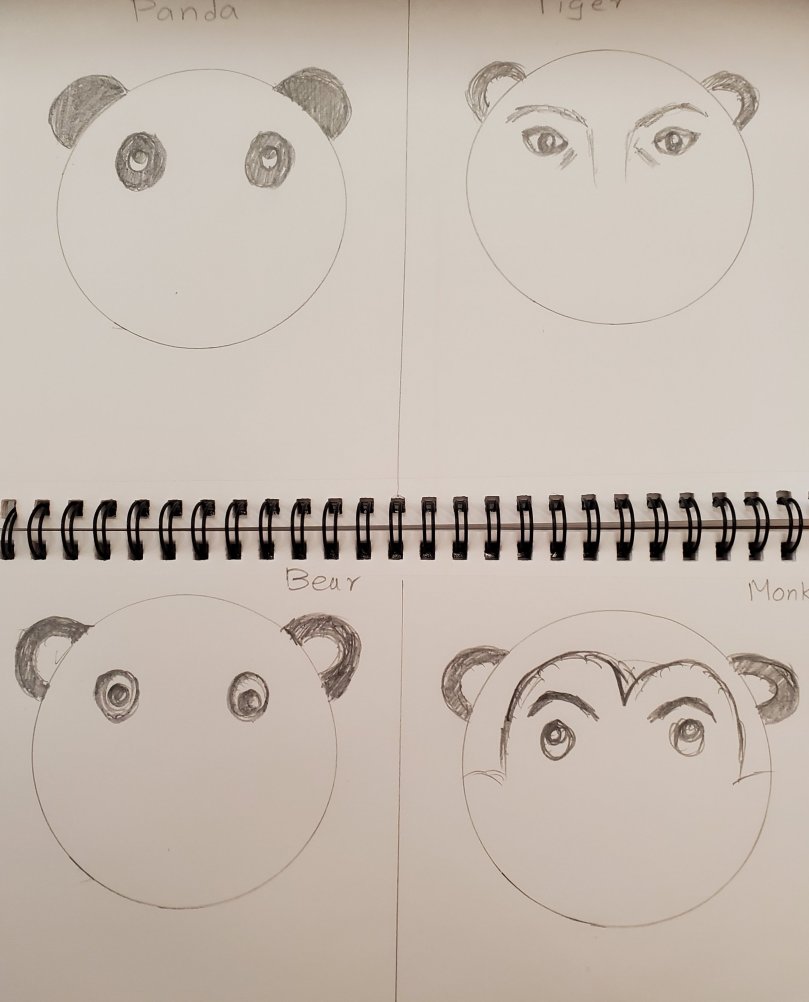
STEP 3: Draw the eyes.

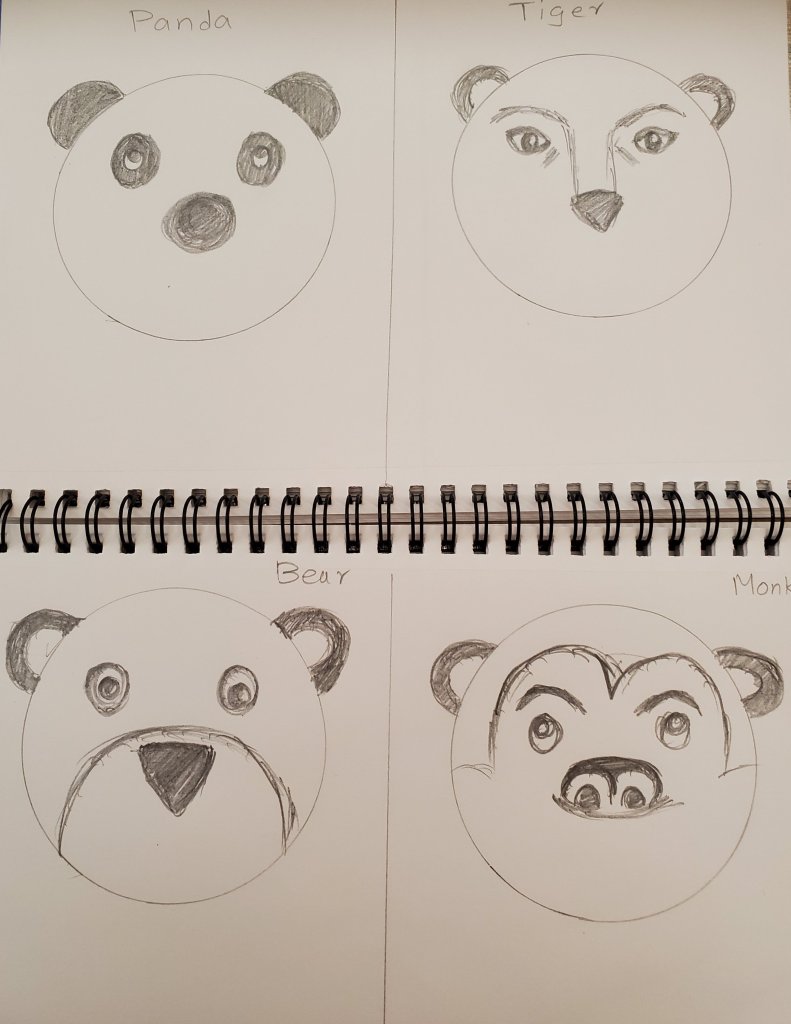
STEP 4: Draw the nose

STEP 5: Draw the mouth.

STEP 6: Add some fur and hair!

STEP 7: Draw the body and add the details to finish your drawing!!

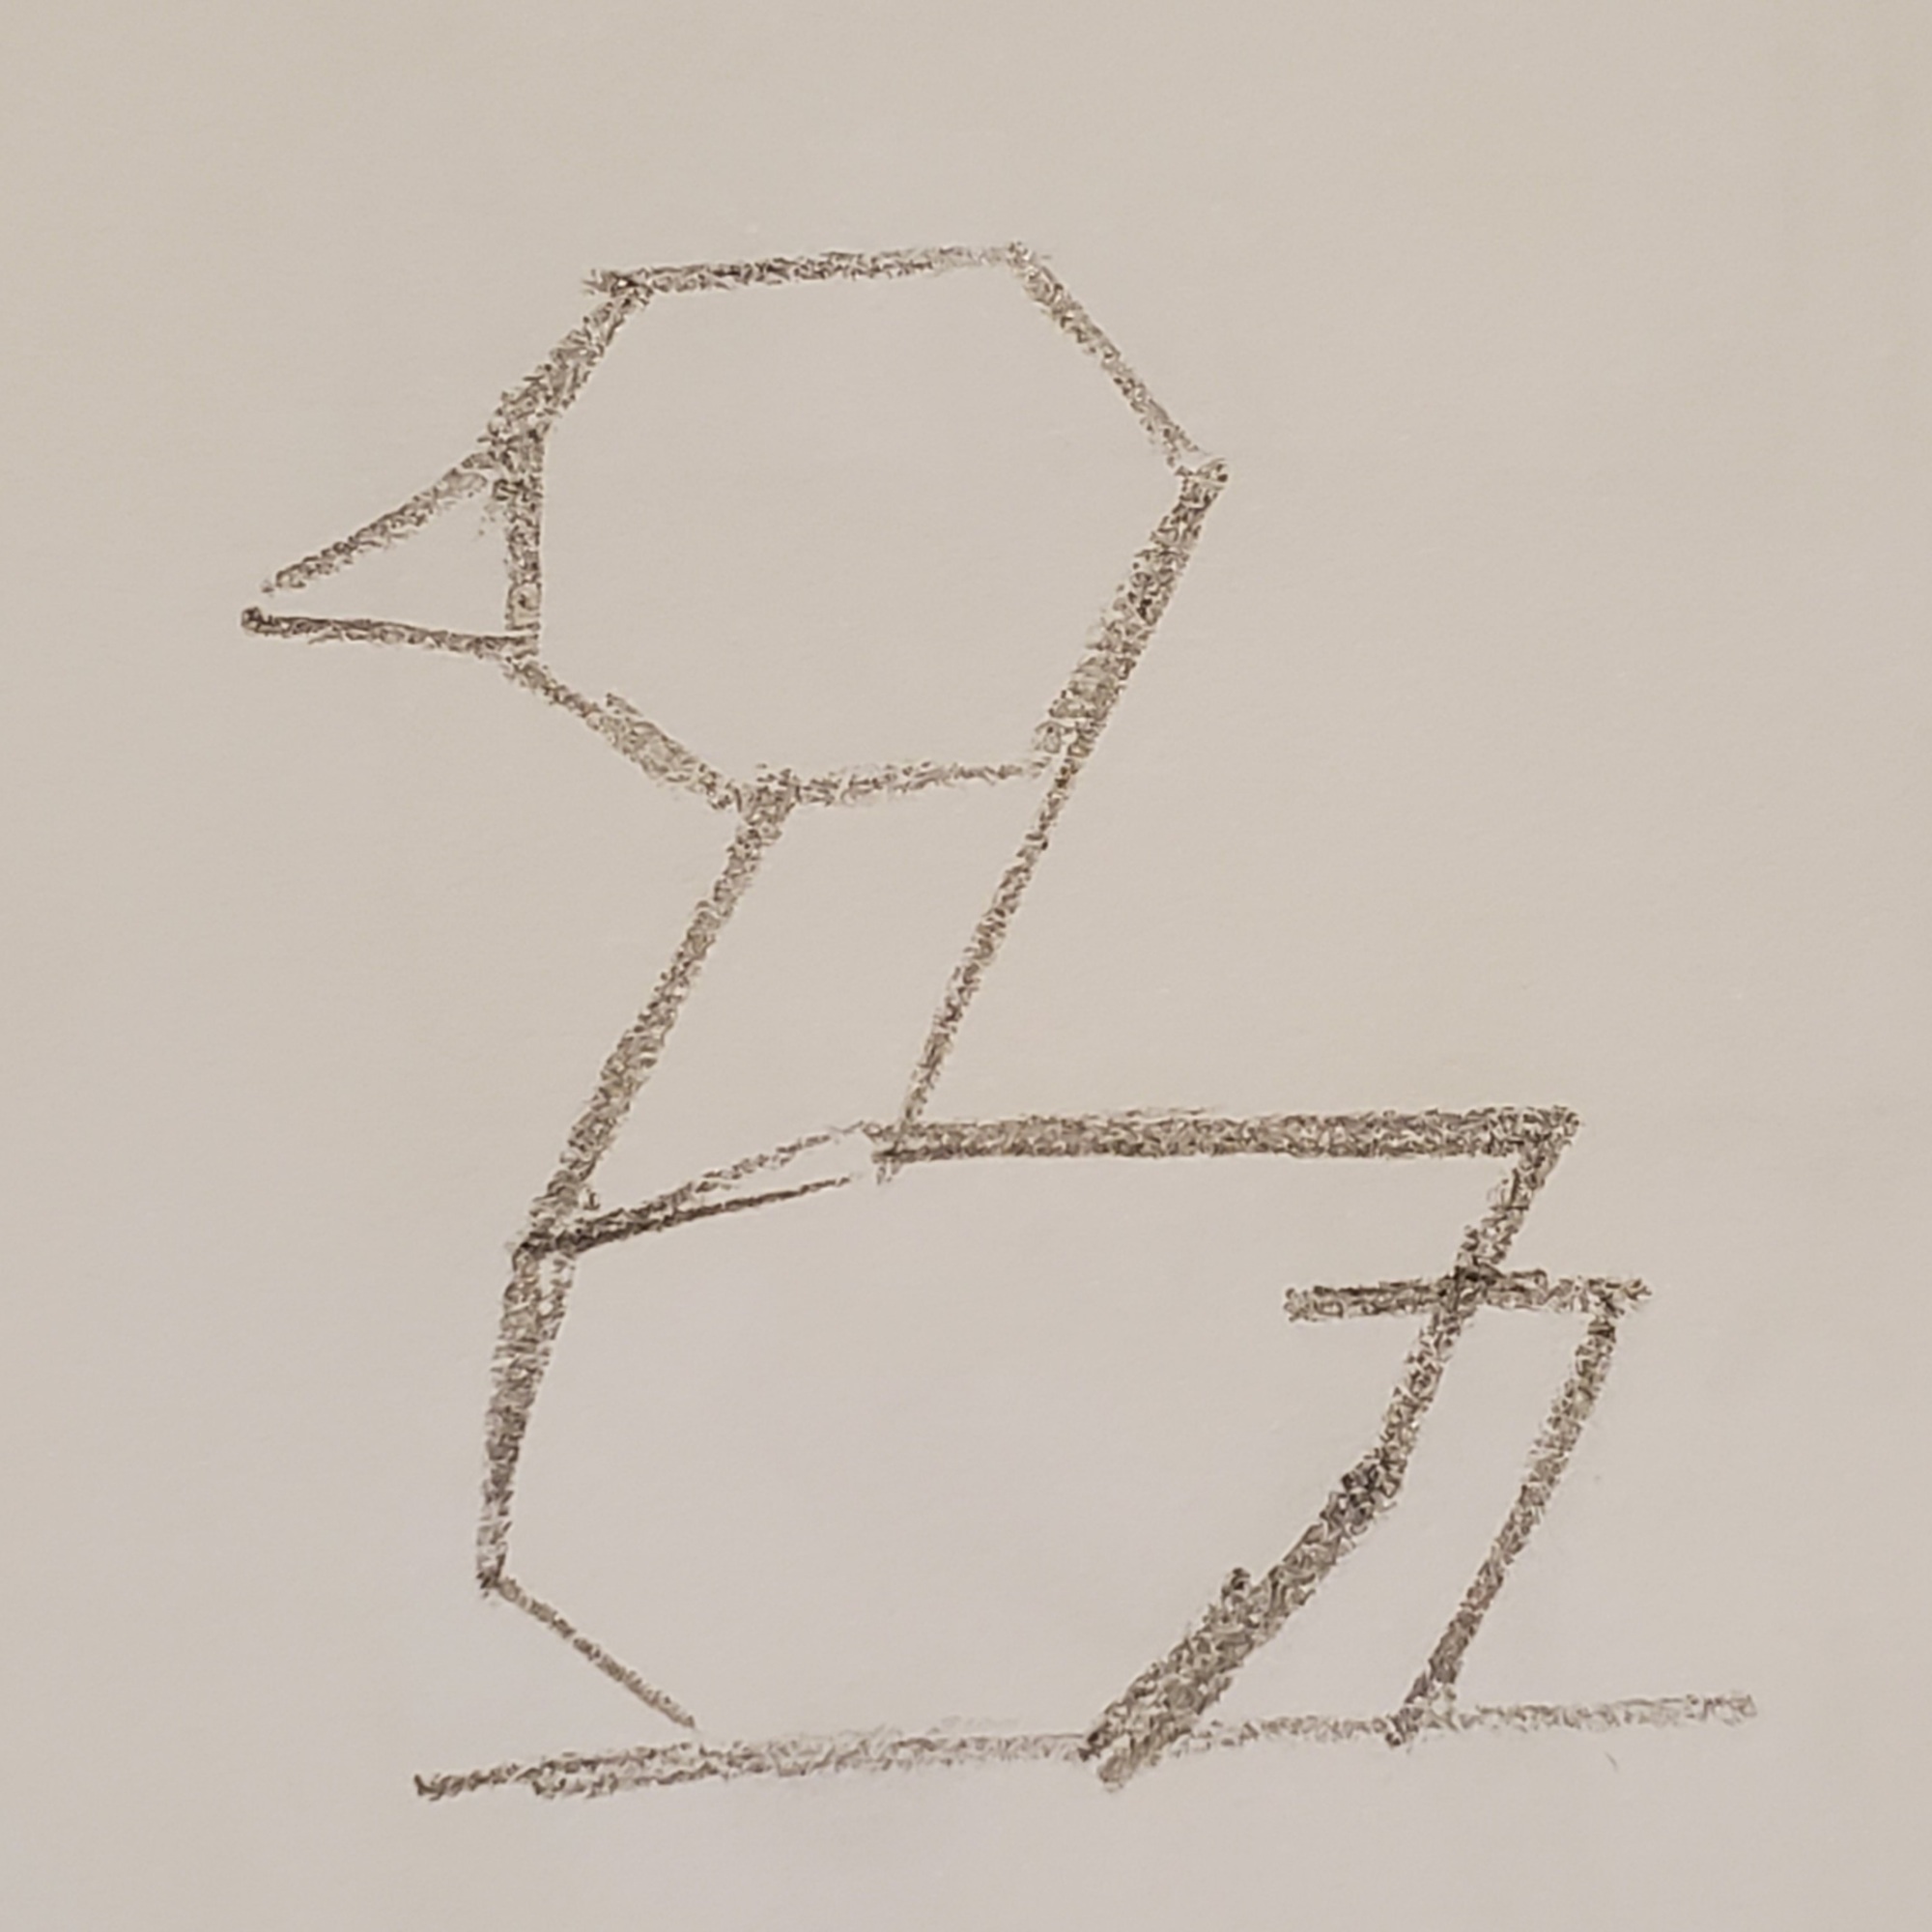
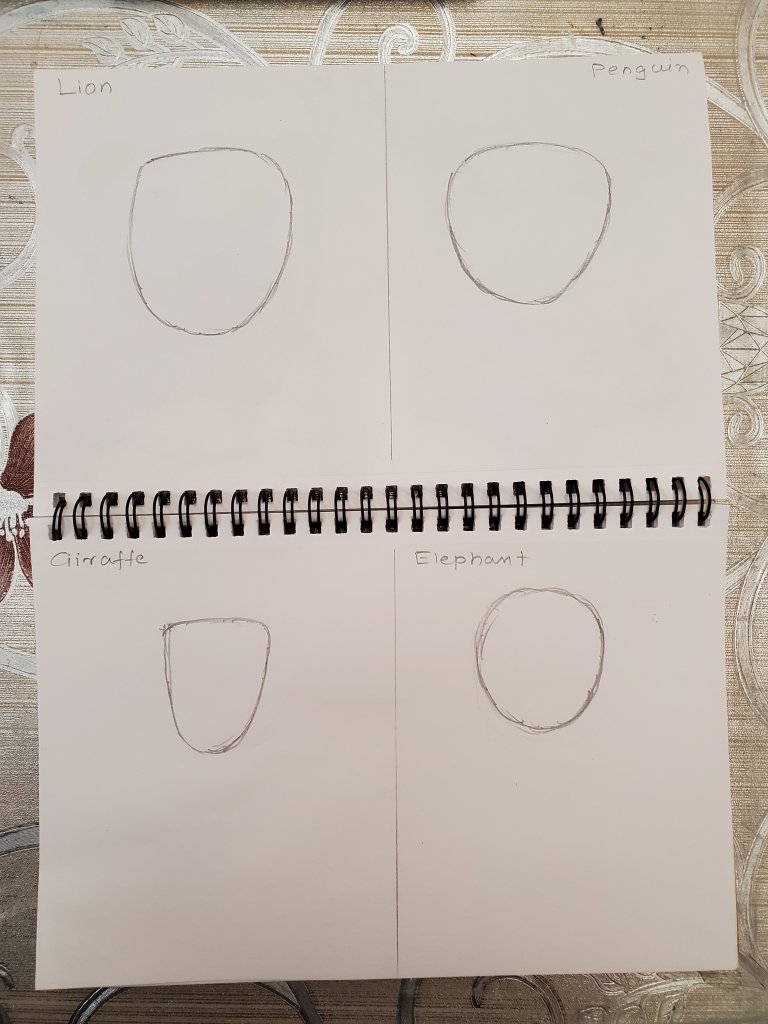
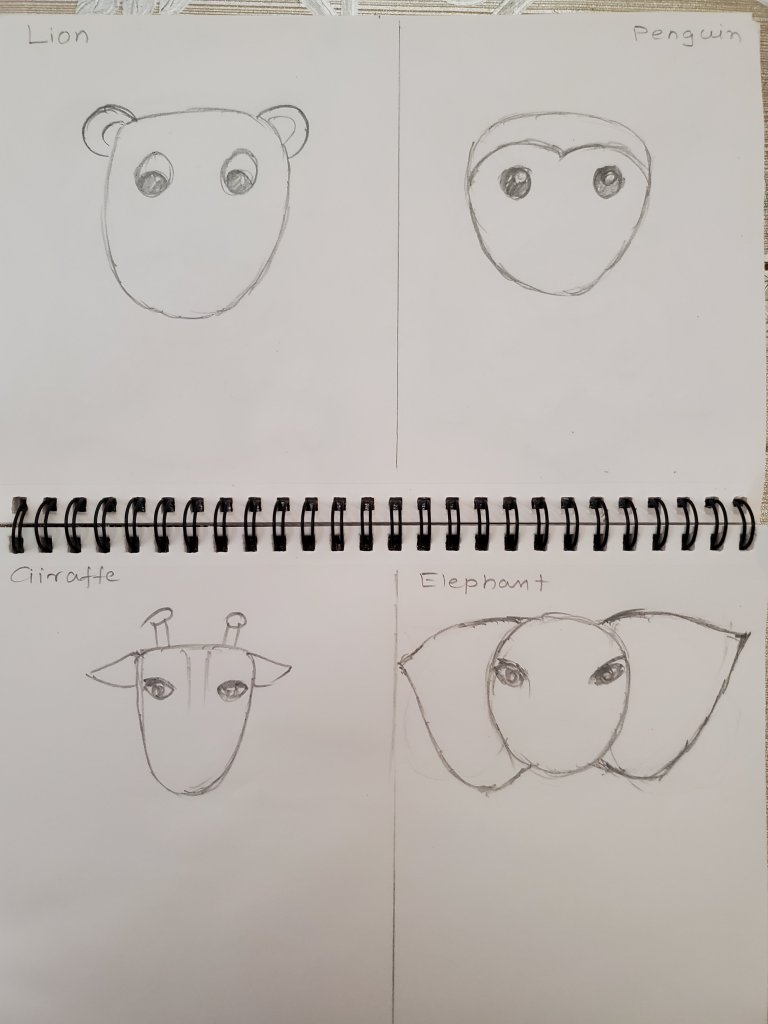
The next 4 animals that we are going to draw are a LION, a PENGUIN, a GIRAFFE and an ELEPHANT.

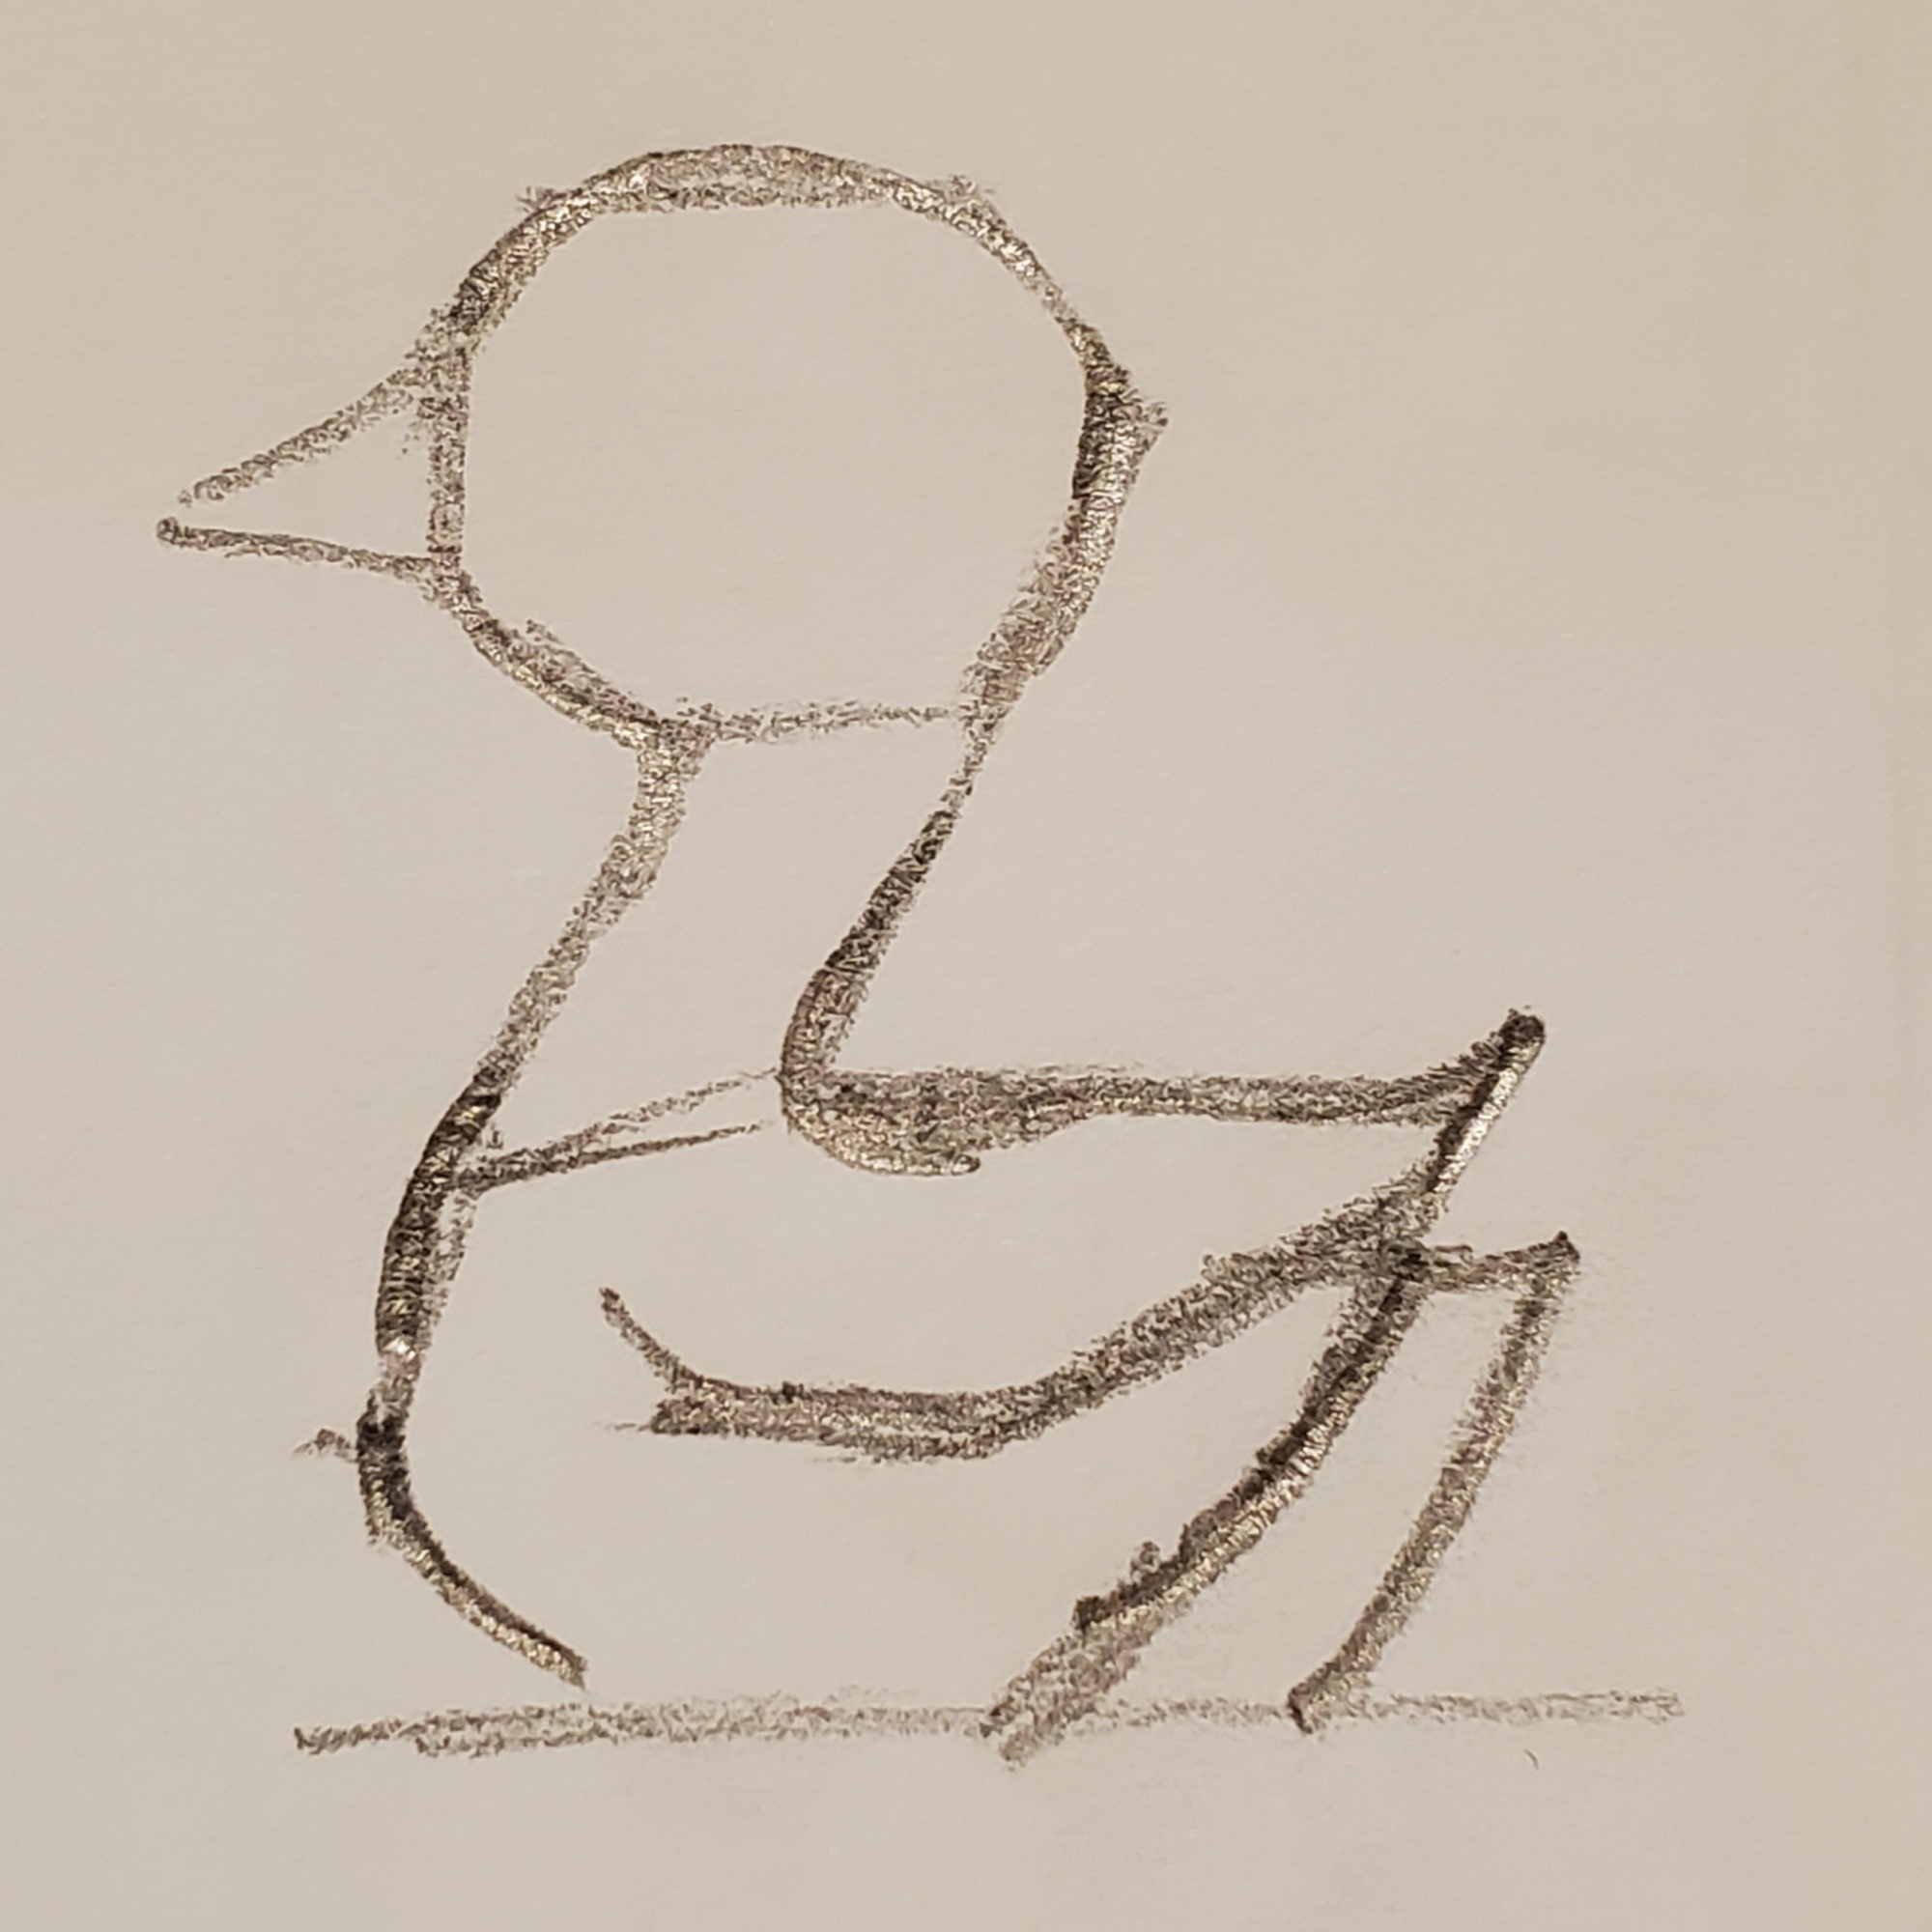
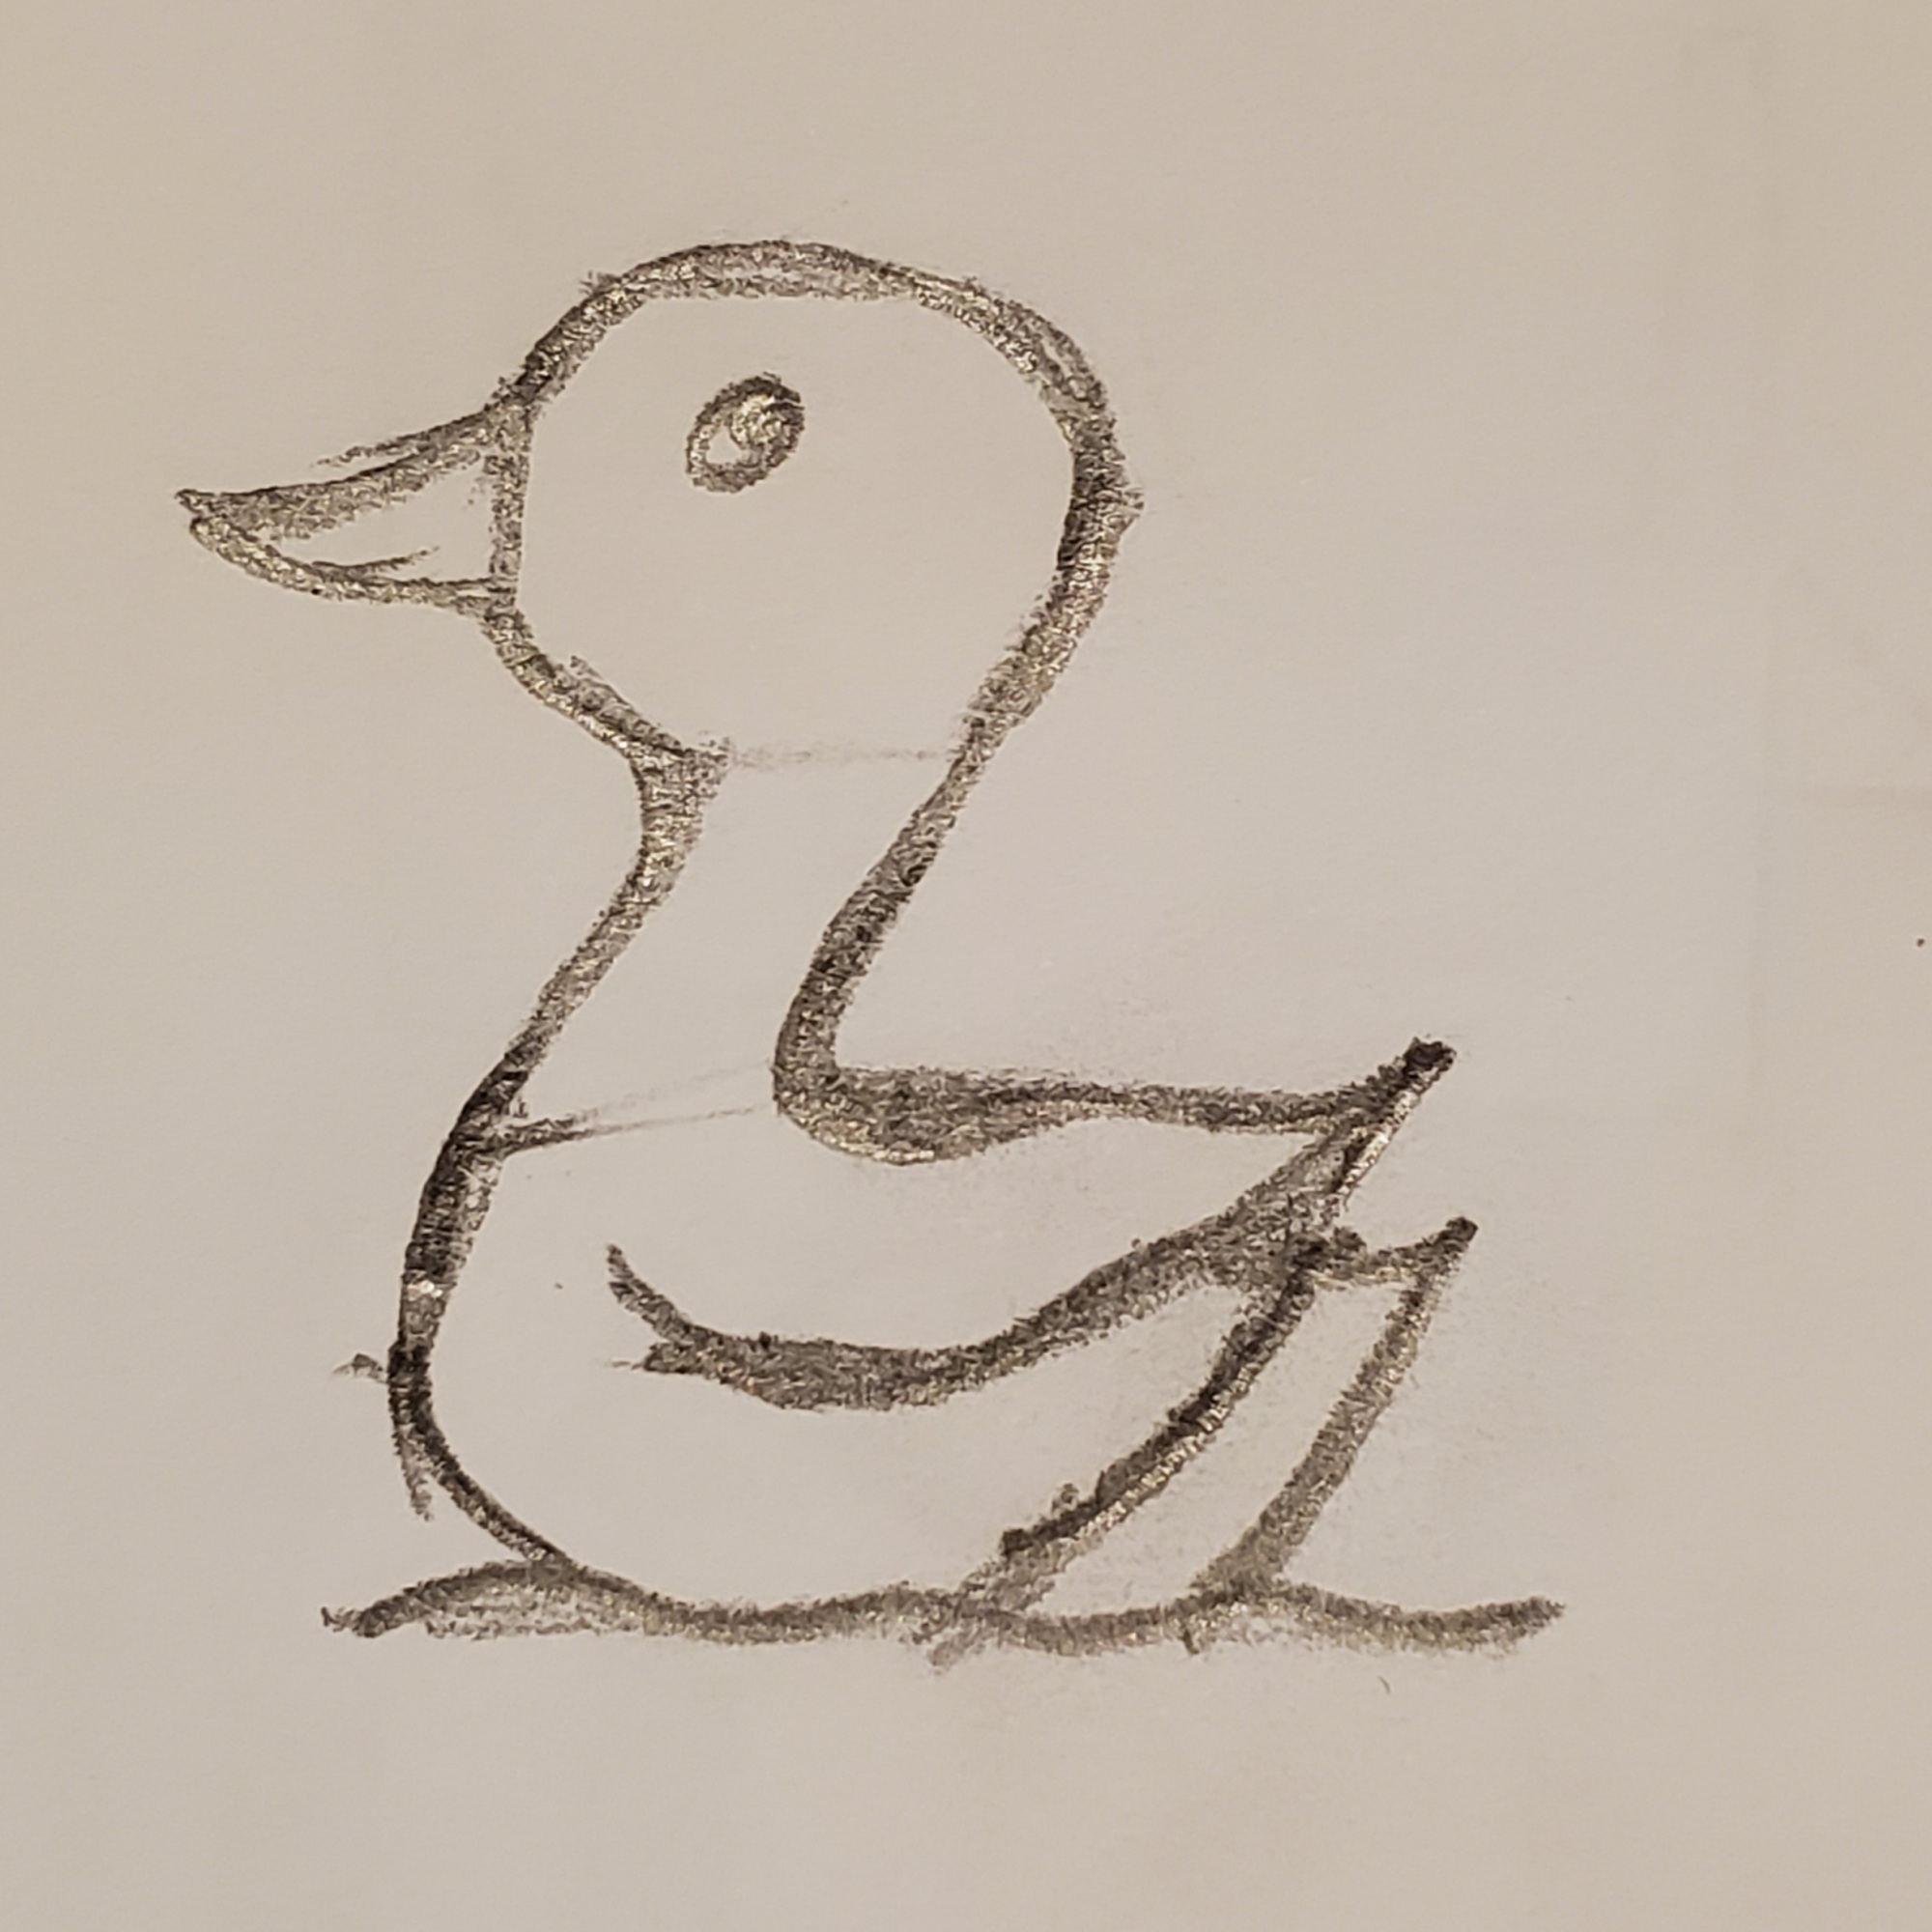
STEP1: Make the outline shape of the animal faces.

STEP 2: Add the ears.

STEP 3: Add your eyes.

STEP 4: Add the nose/beak.

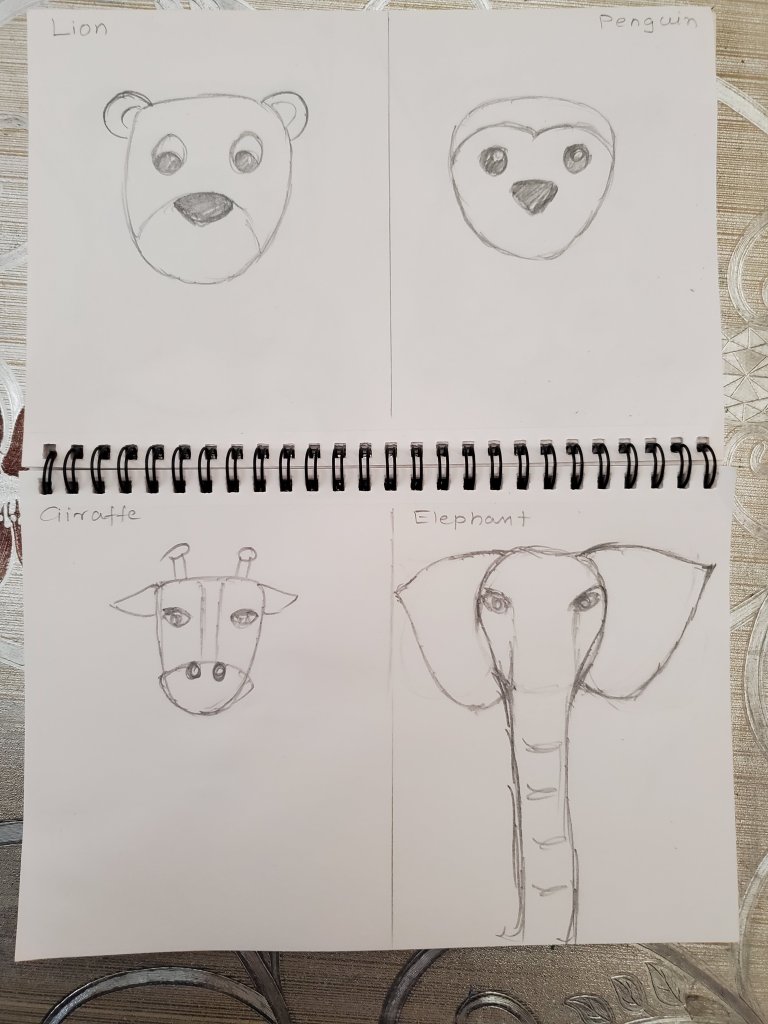
STEP 5: Add the mouth.

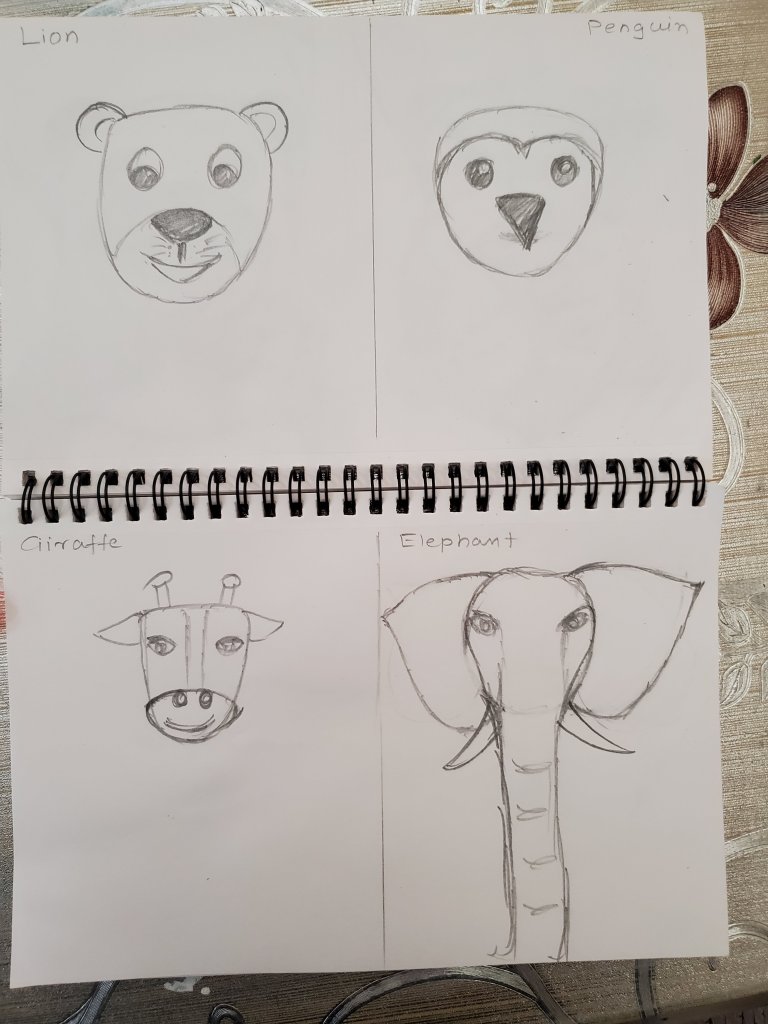
STEP 6: Add the body and details to finish your drawing!!

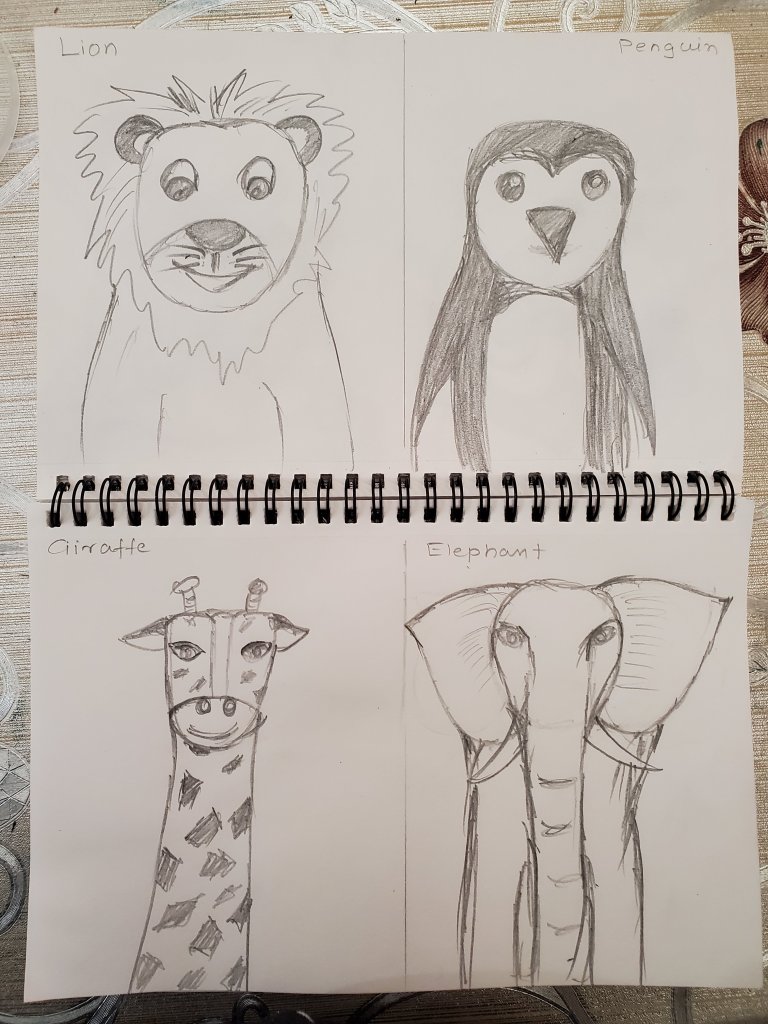
And just like that we made 8 animal portraits!If you like colored versions, go ahead and add some colors!!

You can try the same lesson with favorite pets too!!


Learn to draw curves using straight lines

Curved lines play a very important part in fine arts especially if you are drawing something from nature like animals, trees, flowers or maybe a person. Mostly we try to draw using contour lines where we follow the outline trying to match the shape of the object.

It can be very hard to be proficient in this technique and might take years of practice, it can be frustrating especially for little artists:) and to avoid that we can use this simple technique where we join multiple straight lines to form a curve!

Take the flower vase picture above for example, even though the picture hardly has any straight lines, we can still identify a bunch of major straight lines that can be smoothened to give it the soft effect!

Also check out how to identify the following cat portrait into a bunch of straight lines joined and smoothened together!

So, we basically, would draw using a bunch of straight lines and then smoothen out the edges where the lines meet to give it a natural look!

Take the example below to see how I used geometric shapes and straight lines to draw a cute little duck!

Check out the video below to learn more on how to draw like this!!

Even though, this technique might also take some time to master, it is definitely easier than doing contour or outline drawings, especially for complicated pictures!

Keep practicing and enjoy your Work because there is no wrong answer in Art!!

Raised Salt Artwork

Raised Salt art is one of our Favorite art activities to do when we are stuck at home. Kids and adults can both enjoy the experience of the colors getting absorbed by the salt.

We also spent some time exploring the reason behind it. We learnt about how Absorption works and how some substances can absorb the water whereas others can’t.

WHAT IS ABSORPTION?

Absorption is the phenomenon where one object takes in or soaks up another object. For example, when you spill some water or milk and you use a paper towel to clean it up, the paper towels soaks up the liquid or in other words it Absorbs the liquid.

Since Salt absorbs water, when colorful watercolors touch the salt surface, it absorbs the water leaving colorful pigments on the Salt.

We also colored a paper with crayons and Oil Pastels and Saw that when we put watercolors on that, the oil on the crayons repelled the water away. You can also try it with a rubbing alcohol and see how water is not absorbed by it.

Getting Back to out project, things that we need are:

  1. Mixed-media Paper or Canvas
  2. School Glue
  3. Watercolors
  4. Brush or a Color dropper

How to Make the Art Project:

Step 1: Make any design you would like with your liquid glue.

Step 2: Sprinkle salt over the glue design so that glue would start sticking to your design

Step 3: Create some colorful watercolor puddles in a paint palette or plate.

Step 4: Pick up some color using the paintbrush or a dropper and drop on salt, watch how the salt absorbs the water. Repeat with as many colors as you want to create a colorful design.

Watch this video on YouTube to learn how!